Getting things cooled off when the heat is soaring may not take as long as you’d think depending on the type of air con you choose.
Air cons are a way of life for most home owners here in Sydney. With summers that can become beyond sweltering, many of us have foregone less technical ways to cool off in preference of air con units that regulate the temperatures for us.
Homeowners who don’t already have an air con, but are considering the upgrade, often ask what the air conditioning installation process is like. And honestly that will depend on the type of system you want to install and how much space in your home you want cooled. In almost all cases, however, you’ll be leaving the installation to expert electricians who can quickly and properly hook you up with cooler air.
And the best part? There are a number of options for air con installation that won’t take too long to implement and won’t break the bank, either.
If you want to learn more about aircon installation, check out our other resources:
1. How Much Does Air Conditioning Installation Cost
2. How to Choose the Best Air Con Installer?
3. How Long Does an Air Conditioner Take to Install?
4. When is the best time to install an air conditioner?
5. Can You Install an Air Conditioner Yourself?
A note on types of air cons
Sydneysiders are creative about how we keep cool. Ceiling fans and air cons abound as a means to stay comfortable during the blistering summer months. But if you don’t have an air con and want to get one installed, you might not even know where to start.
If your house doesn’t already have a ducted system in place, you’re likely going to want to choose between the following:
- Portable air conditioners
- Window air conditioners
- Split system air conditioners
- Multi split system air conditioners
Of the four options listed, only two – split and multi-split – require much in the way of an air conditioning installation process. After all, portable and window air cons are designed to be plug and play units that only require access to an electrical outlet. As a homeowner, you can easily pop one of these into your space and get cool, though they aren’t as efficient as split or ducted systems.
Ducted systems require the most when it comes to robust installation. That’s because they require both an outdoor unit for the compressor as well as duct work that runs throughout the home to bring cool air to every room (as needed). Most of these systems are put in during a new home build, and few homeowners will actually bother to retrofit their homes in this way.
Instead, they’ll turn to split system and multi split systems for their efficiency, affordability, and ease of installation. So let’s take a closer look at both.
A closer look at split system air conditioners
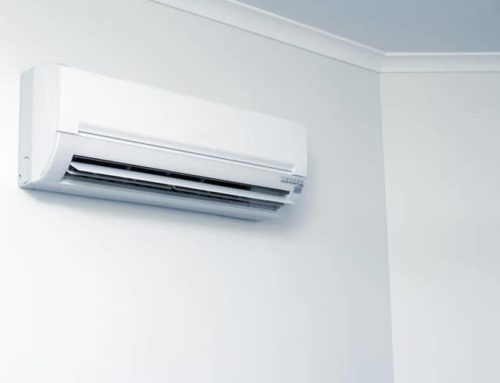
How a spilt system air con works is fairly straight forward. It’s called a split system because the components are separated, or split up, from one another into two main groups: indoor and outdoor. The two main components are then connected to each other with copper tubing.
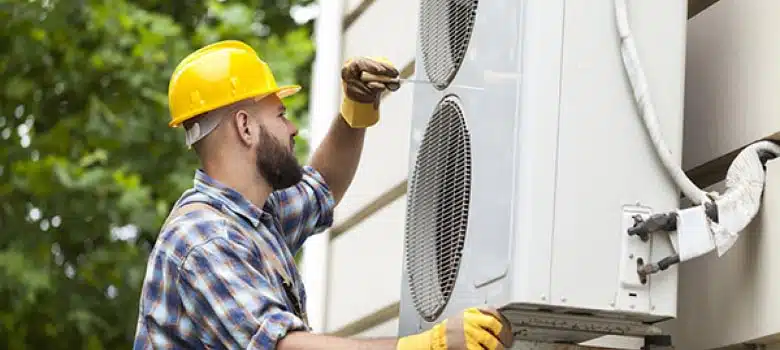
Outside, the unit contains the compressor and condenser, which take in air and cool it down to temperature. Fans power the air through the tubing to the location of the unit that’s installed, typically up high on a wall, on the inside.
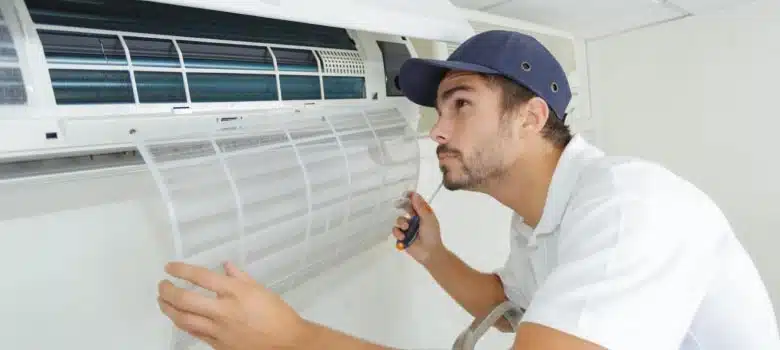
The inside unit, then, is responsible for distributing the cooled air into the room. It will also contain filters to remove any dust or allergens that might be caught up in the new air. It may also have an evaporator to remove any excess condensation.
A multi split system works in nearly the exact same way as described. The difference is that you can have multiple indoor units that are connected to the same outdoor compressor, allowing you to cool multiple rooms on demand. Most systems go up to a max of six indoor units per outdoor component.
A guide to the split system air conditioning installation process
Now that you know exactly what a split system air con is and how it’s designed to function, we can go over the steps that your electrician will likely follow to install this for your home. Keep in mind that even though the components might seem manageable, this is definitely not a DIY project. You’ll need to hire a licensed and insured electrician who understands and specializes in air con units to get the job done right for you.
#1. Choose a location
The first step is to confirm exactly where you’ll want your air con to be located in your room. Note that you’ll need to choose an exterior wall where possible to make it easier to connect the indoor and outdoor units with minimal tubing.
#2. Prepare the mount
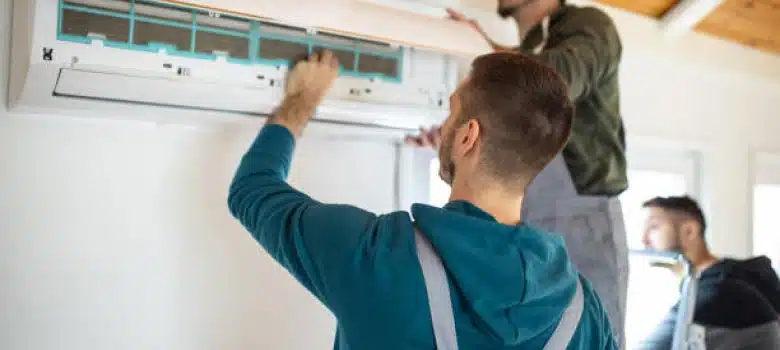
Most indoor split system units come ready to mount on the wall. Your electrician will need to wire the unit so that electricity can run to it for power as well as connect it to the tubing that will bring the air in from the outside. It helps to mount the unit near studs so that the device is extra secure on the wall during operation.
#3. Drill for tubing
With the mount for the air con in place, the electrician will be able to gauge exactly where to drill to bring the tubing in from the outside. This hole is usually 7-8 cm in diameter. Of course, the electrician will also want to check to make sure there is nothing else in or behind the wall before making the hole.
#4. Run the pipes
The electrician should also have a good idea of exactly where on the exterior of the home the tubing will come out. From there, they’ll be able to run the pipes and any wires or cables through the hole in preparation for connecting the system to the outdoor unit. This usually includes power cables, drain pipes, and air flow tubing.
#5. Hang the air con
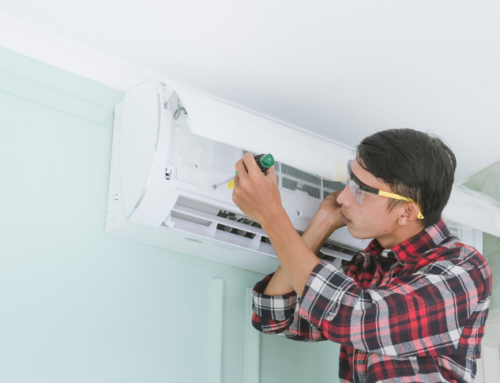
With everything in place through the walls, the electrician will be able to secure your split system indoor unit to the wall using the provided mount. There they’ll also make the connections for the electrical and drainage tubing.
Note: Steps 1-5 are repeated for every indoor unit in the event that you go with a multi-split system.
#6. Install the condenser
Since this is a split system, the job isn’t done until the work outside is complete. The condenser unit will likely be placed on the ground near the hole where the tubes and cables have been fished through. You’ll need at least 30 cm of space around the unit to ensure proper air flow and access. The censer is usually placed on a concrete pad to keep it from shifting or sinking into the ground and protects its components.
#6. Make the connection
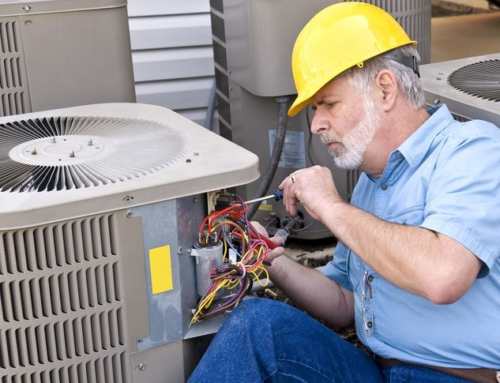
With everything in place, your electrician will connect the indoor and outdoor units with the proper cables and tubing, ensuring that everything is properly in place. The power supply is the last component to be connected to ensure safety throughout the installation.
#7. Test and cool down
Lastly, your electrician will test the valves to ensure that the right vacuum and pressure levels are set on the outdoor unit, preparing the unit for use. With all of the connections in place, they’ll then come back inside and turn on the indoor unit to confirm that the output is indeed cold air. On start up, this can take a few minutes to confirm but should have you well on your way to cool and comfort.
Wondering how long all of this takes? Check out our blog: How Long Does an Air Conditioner Take to Install?
Cool down with HunterCon installation packages
No matter what kind of air con system you choose, you’ll need the services of a reliable electrician to implement the unit(s) safely and securely. Unless you go with a less efficient, portable version that is.
But portable units aren’t going to be able to keep you cool in larger, or multiple, spaces the way that split systems can. And these systems can also help you keep your energy bill down and filter out harmful allergens in the air conditioning installation process.
For the best air conditioning installation process and service in Sydney, turn to the pros at HunterCON. We have an entire team of licensed and insured air con and electrical experts on staff to help you cool down no matter what system type, brand, or size you need. With over 10 years of experience serving Sydney and the surrounds, we know exactly what you’ll need to keep cool while also keeping you on budget.
All of our air con installations come with a 5-year installation warranty on top of the manufacturer’s warranty for the unit itself. This way, you know you’ll have a system and service that you can depend on for years to come.
Call us on (02) 8283 1105 for an obligation-free quote or to discuss your air con installation needs today!


Leave A Comment